So the Coke cooler will be a real nice look to the front of the teardrop. But needs to be re painted. So here is the start of the work
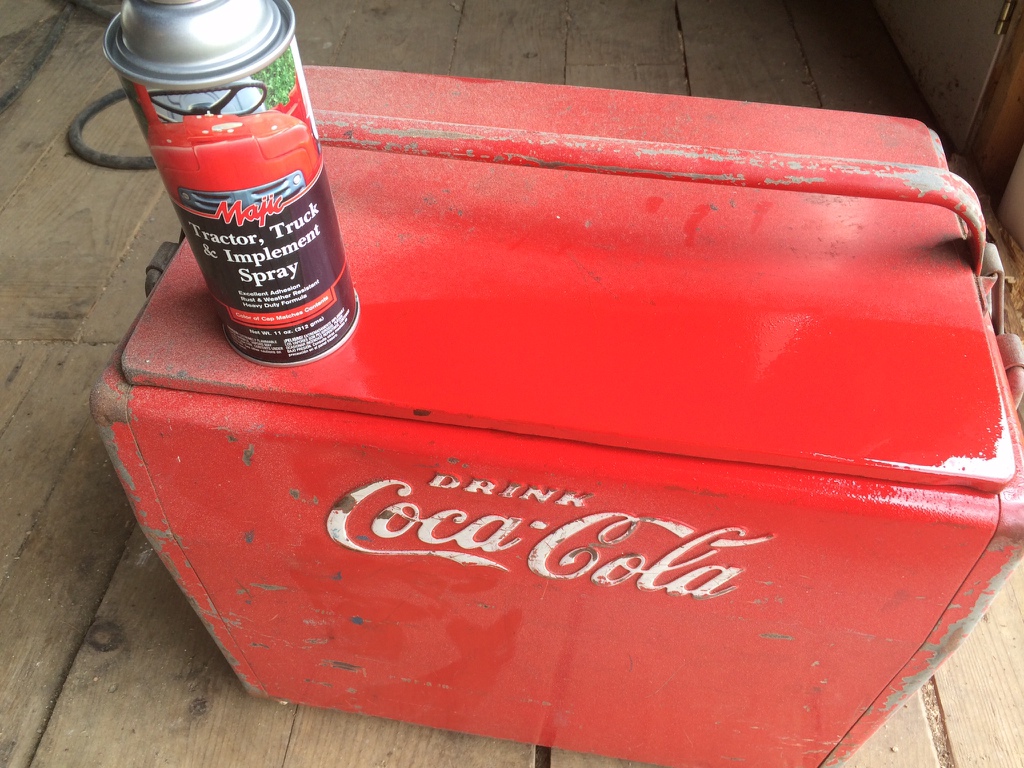
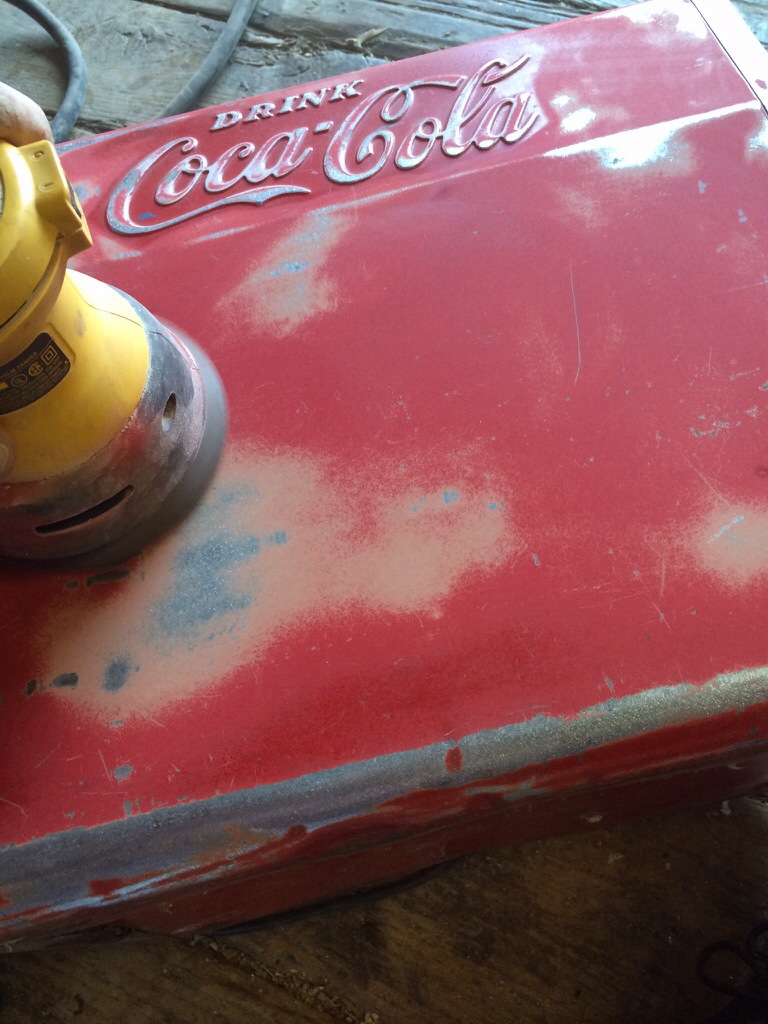
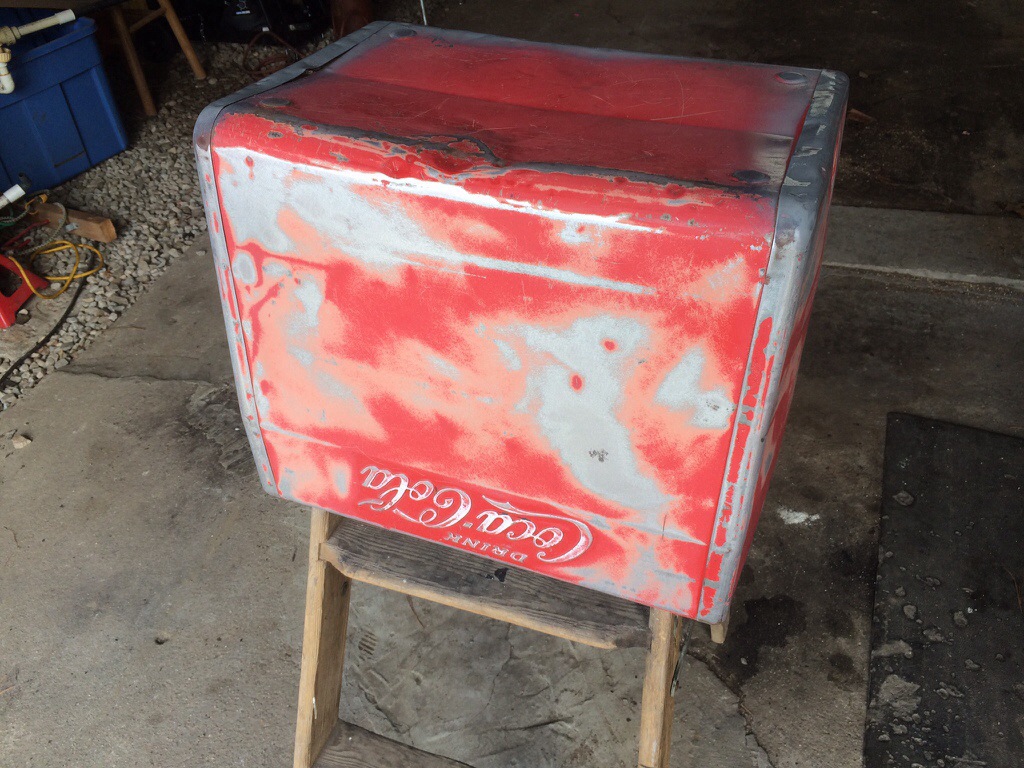
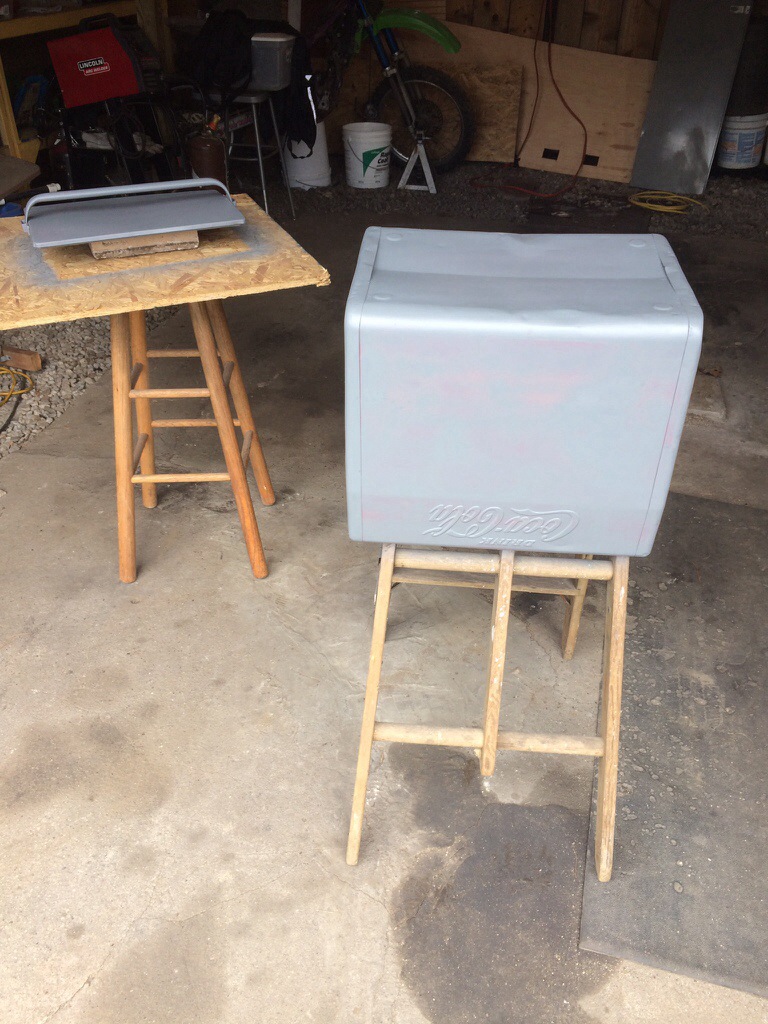
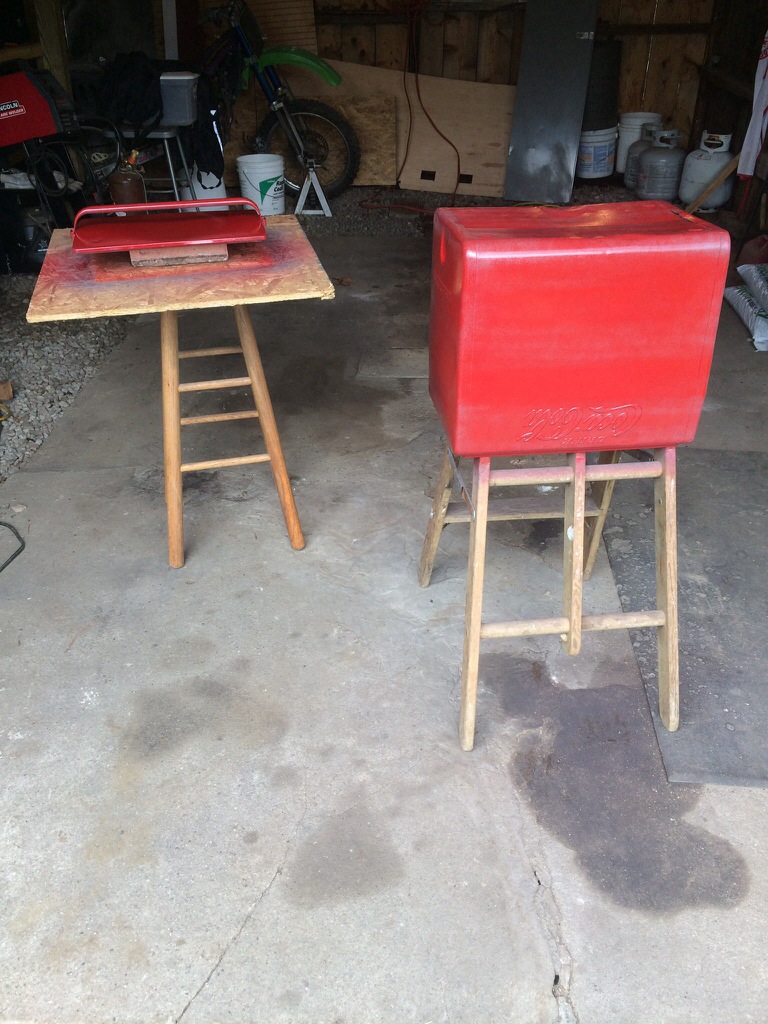
More to come soon
| jdhiker on We have doors and windows… | |
| Michael B Kopp on We have doors and windows… | |
| jdhiker on More camping | |
| Jeff on More camping | |
| jdhiker on We have doors and windows… |
So the Coke cooler will be a real nice look to the front of the teardrop. But needs to be re painted. So here is the start of the work
More to come soon
Here are the cool LED tai lights I picked up at Lowes of all places.
They are going to look great on the aluminum covered rear hatch

Since the sides are wood and we didn’t want to have the whole camper in aluminum for the our first build. It will be painted on the sides. The top half will be an off white and the lower half Red with a Z like the Shasta
I picked up a can of Tractor Implement paint from Tractor Supply in Massey Ferguson Red
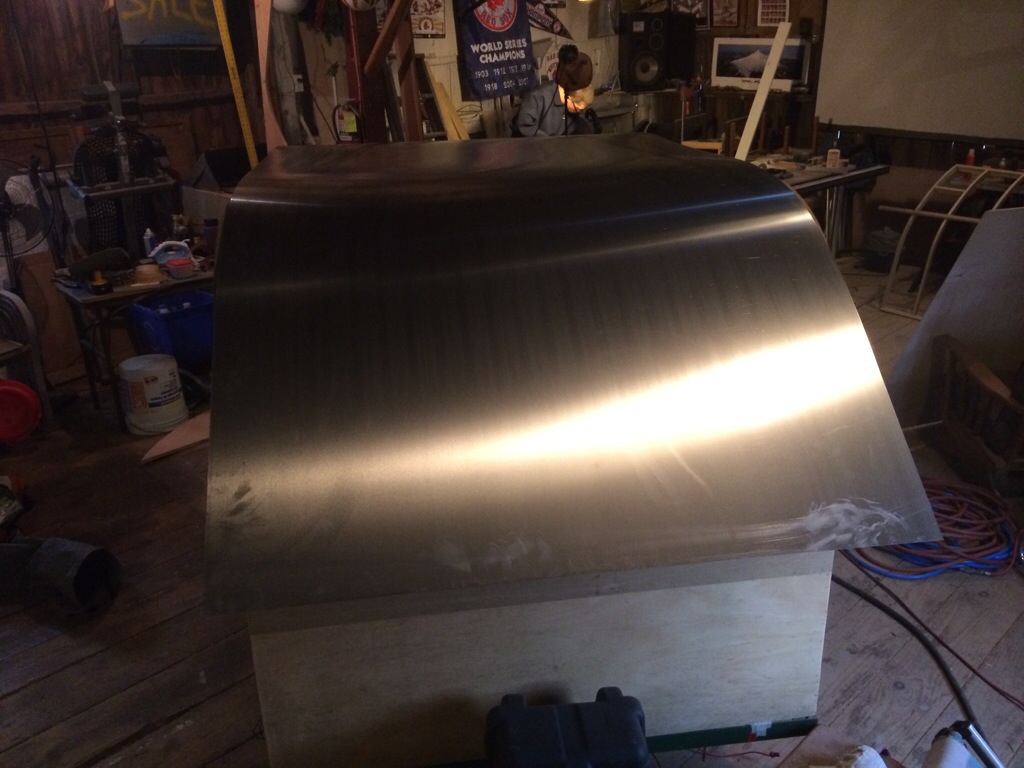
The aluminum roof is 1/2″ short on each side but the new trim will cover it no problem . I decided since there was wood trim on the side that it would come off…but would need to fill the nail and screw holes So I opted to use plastic body filler to smooth out everything and also give it a nice clean edge so the trim will fit nicely over.
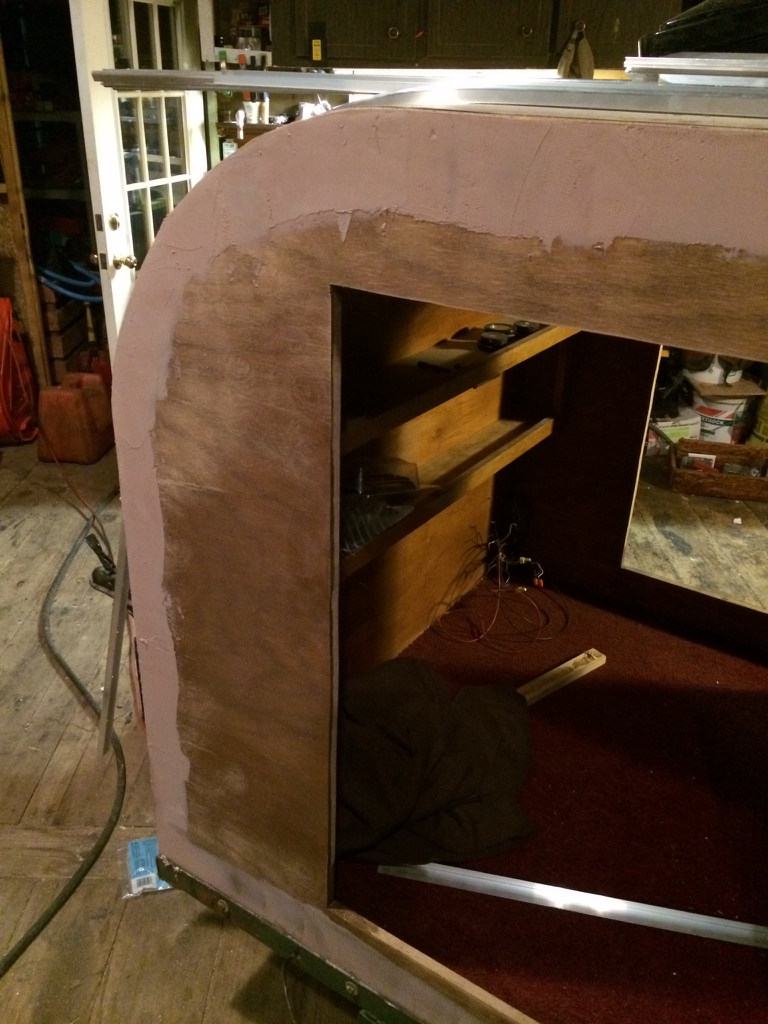


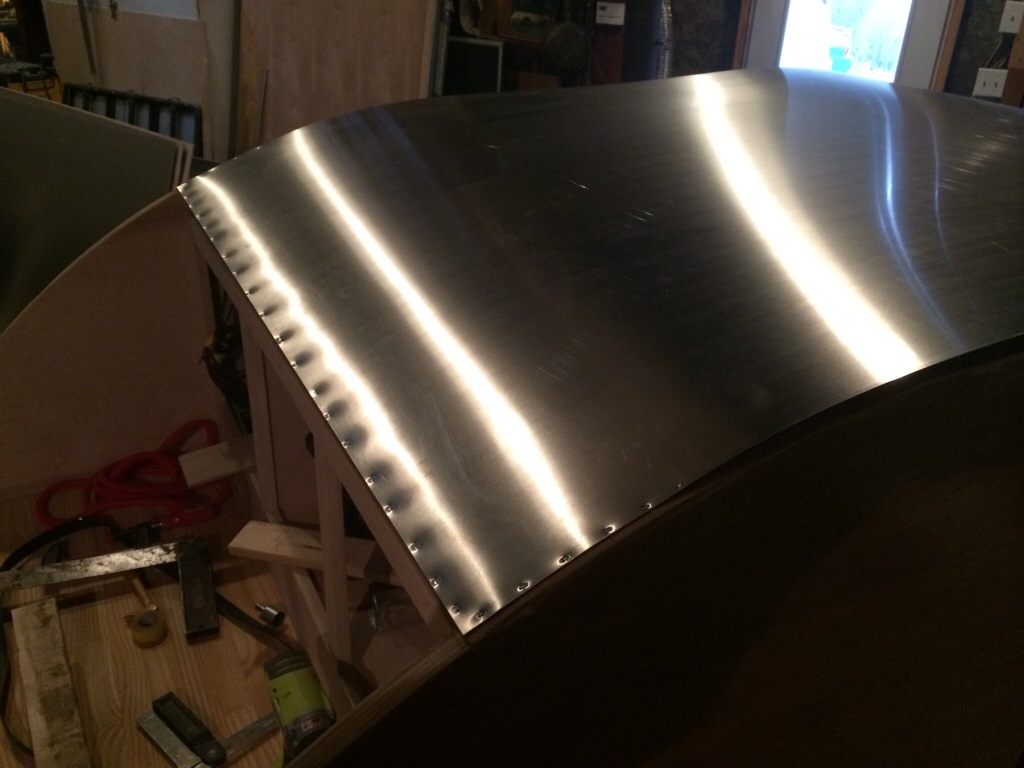
Notice the roof trim temporarily fitted on the roof edge. It fits nice , can’t wait to install once painted.
The aluminum diamond plate is installed as a nice looking rock guard.
There will be an aluminum trim piece that goes over the transition from the roof to the diamond plate.

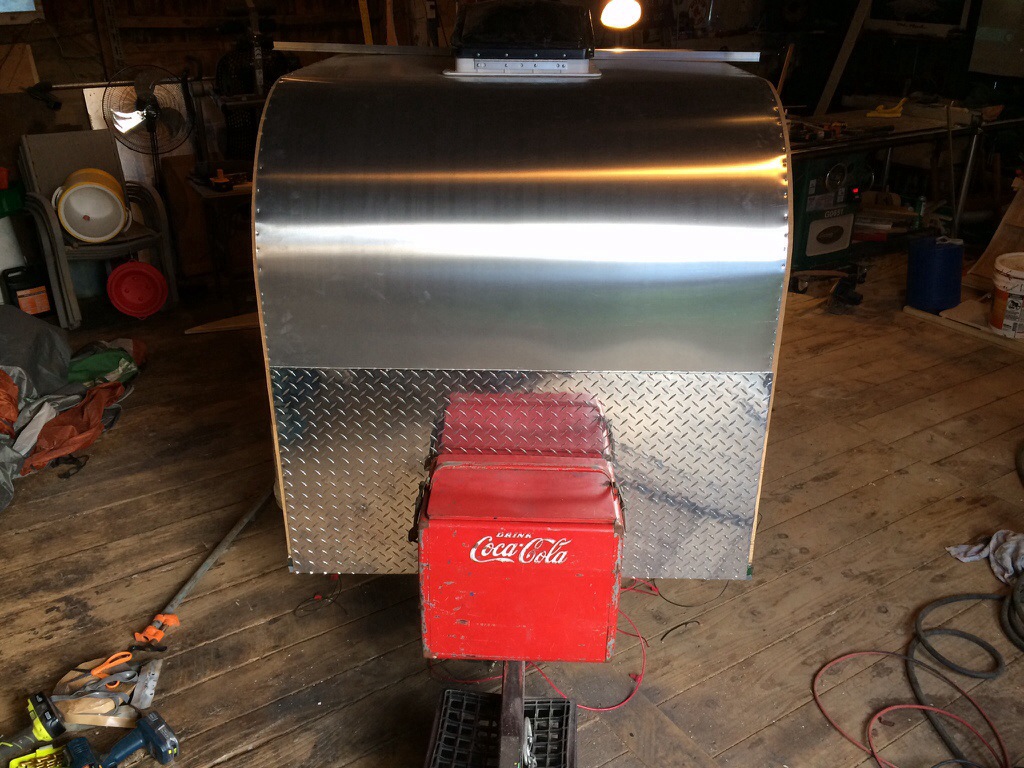
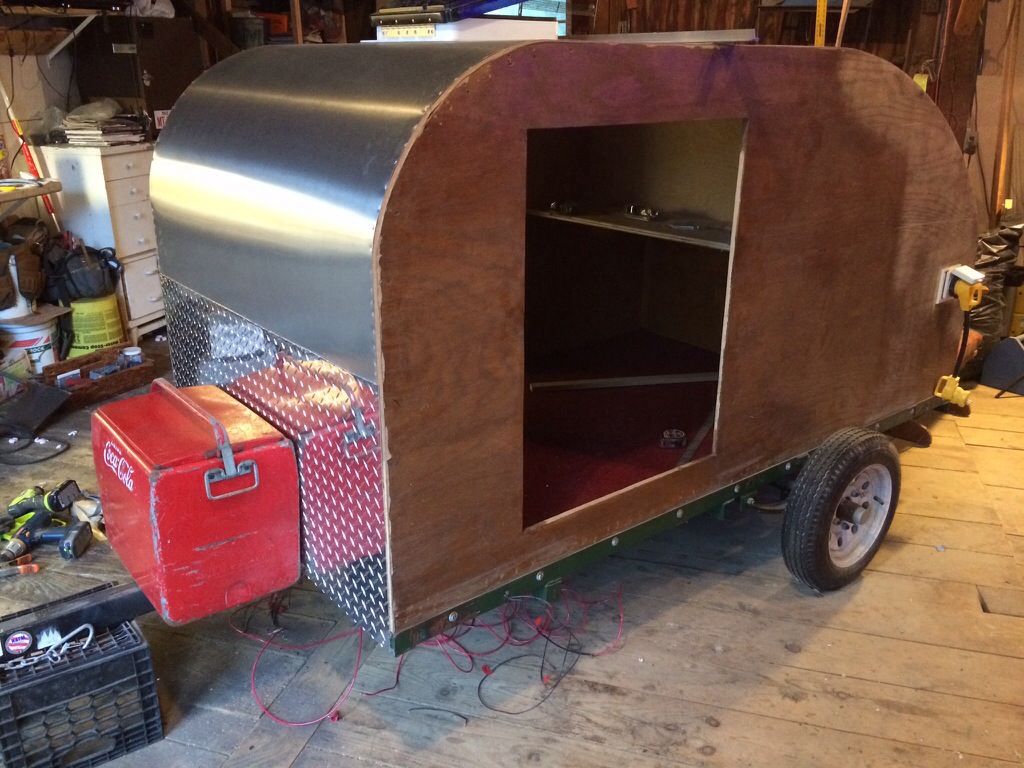
The Coca Cola cooler will be also mounted in the front on the tongue and house the Battery for the lights and other on board systems.
The cooler will be re painted and brackets will be welded on the trailer to bolt down the cooler to.
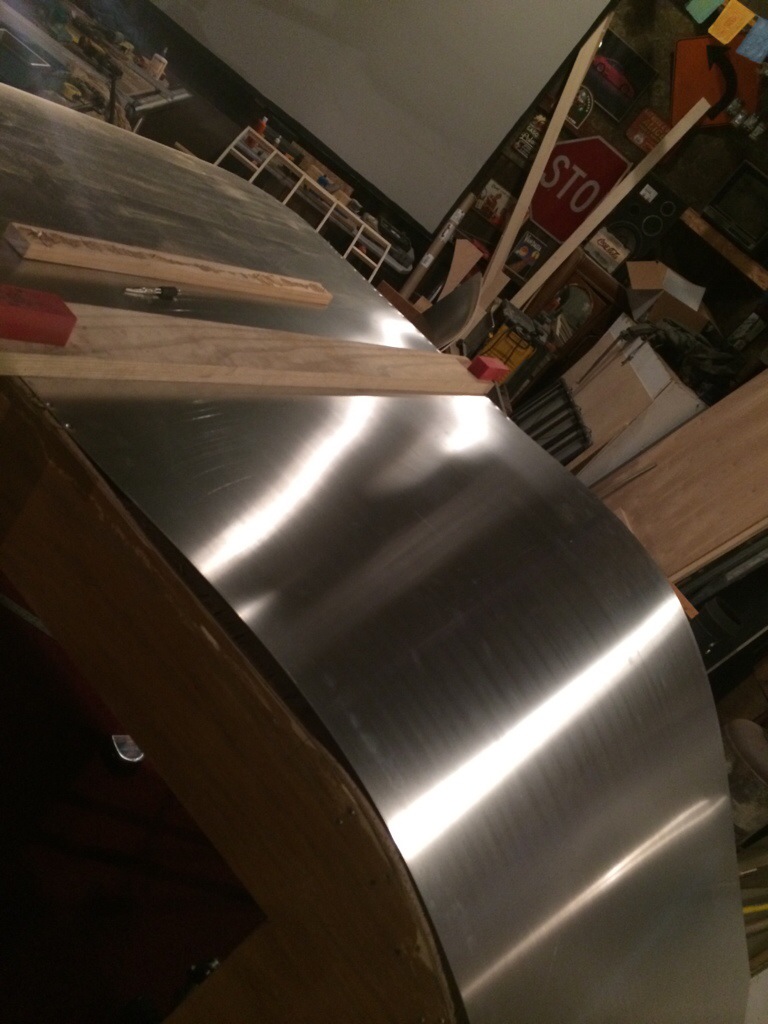
Here I am installing the aluminum on the roof. The camper is an inch wider than 4′ so I need to get wider trim to go on the edges to cover and make water tight! But I think it’s going to work out fine.
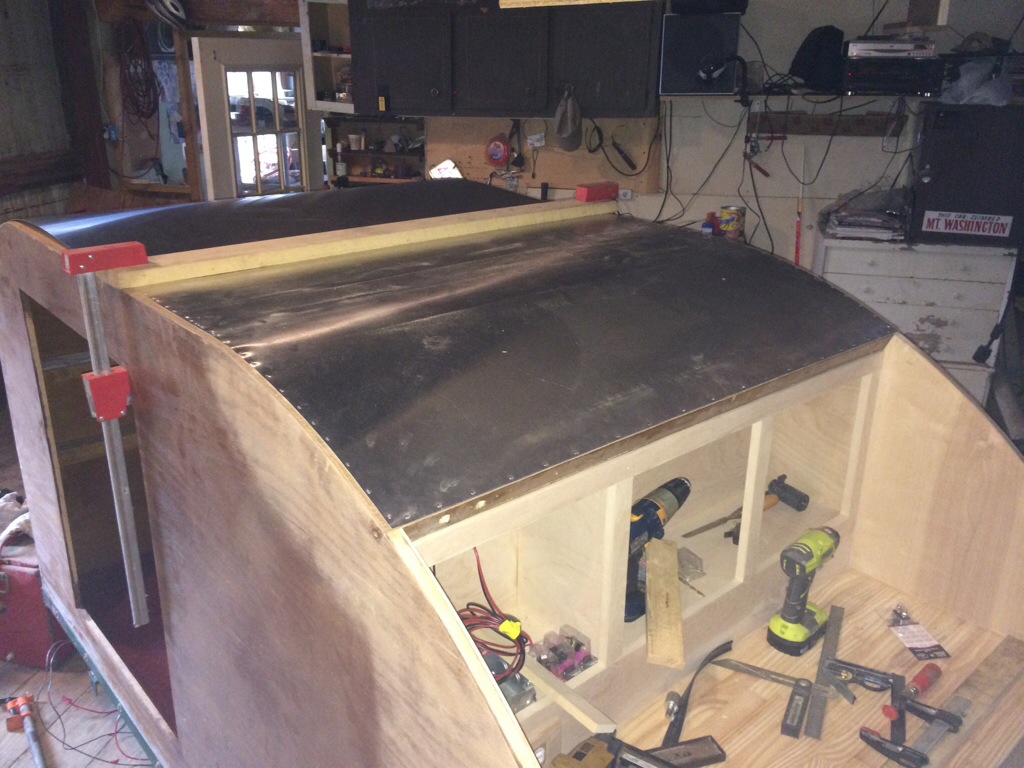

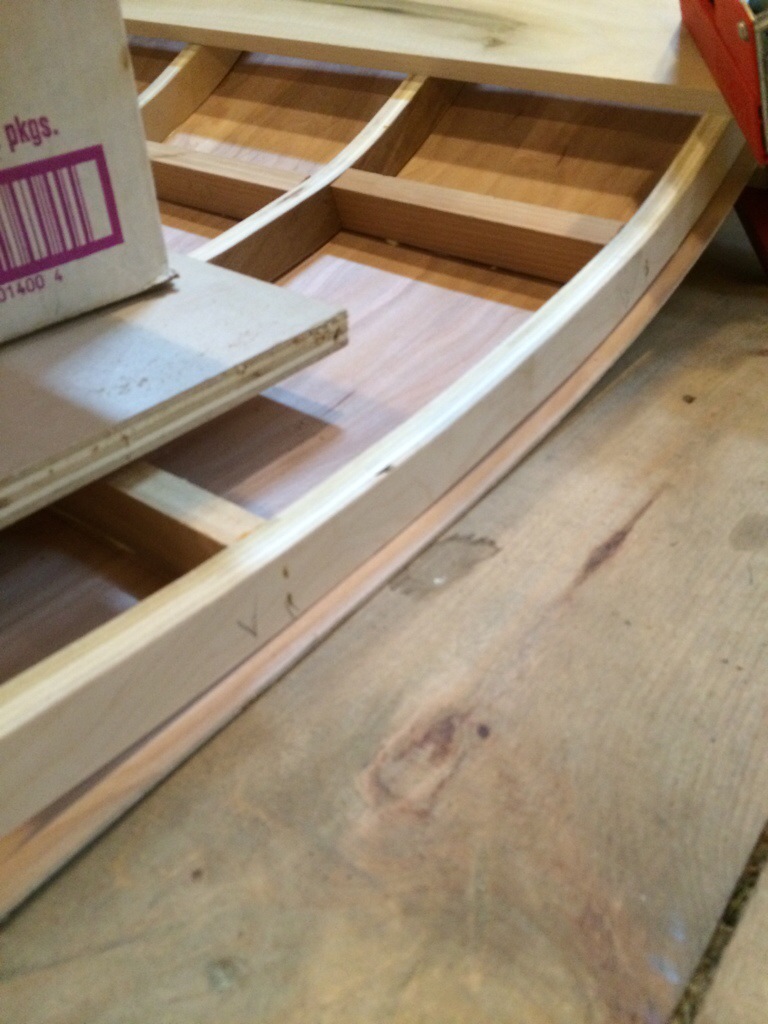
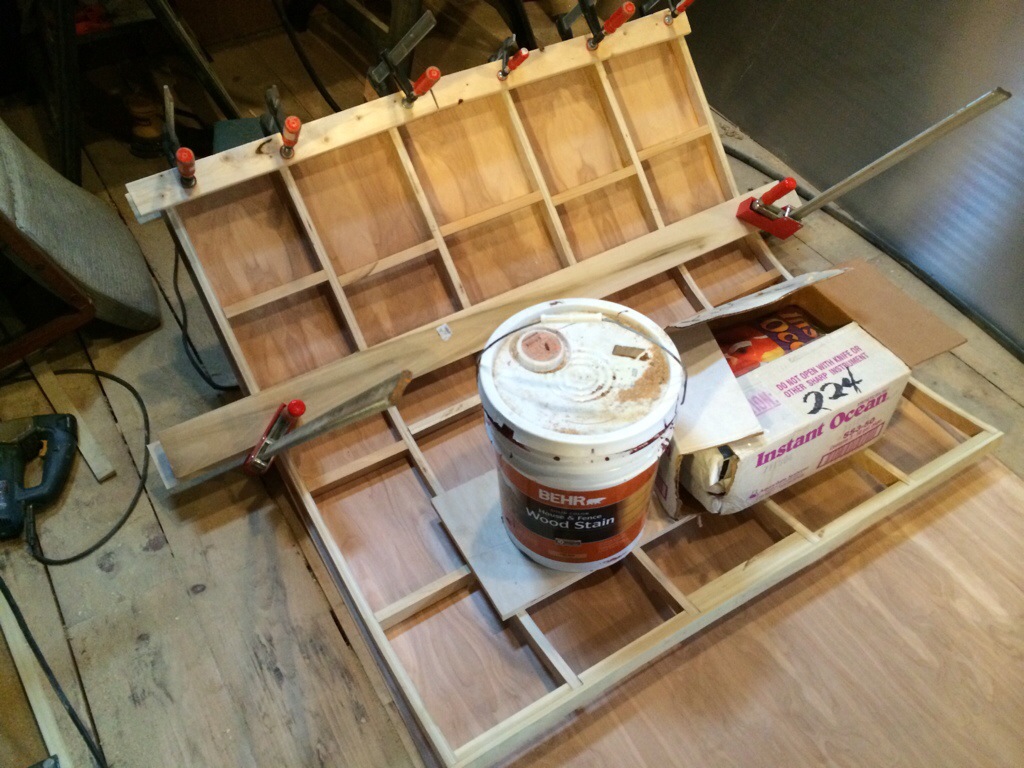
I started building the hatch….from Scratch….
Once complete it will have aluminum on the outside.


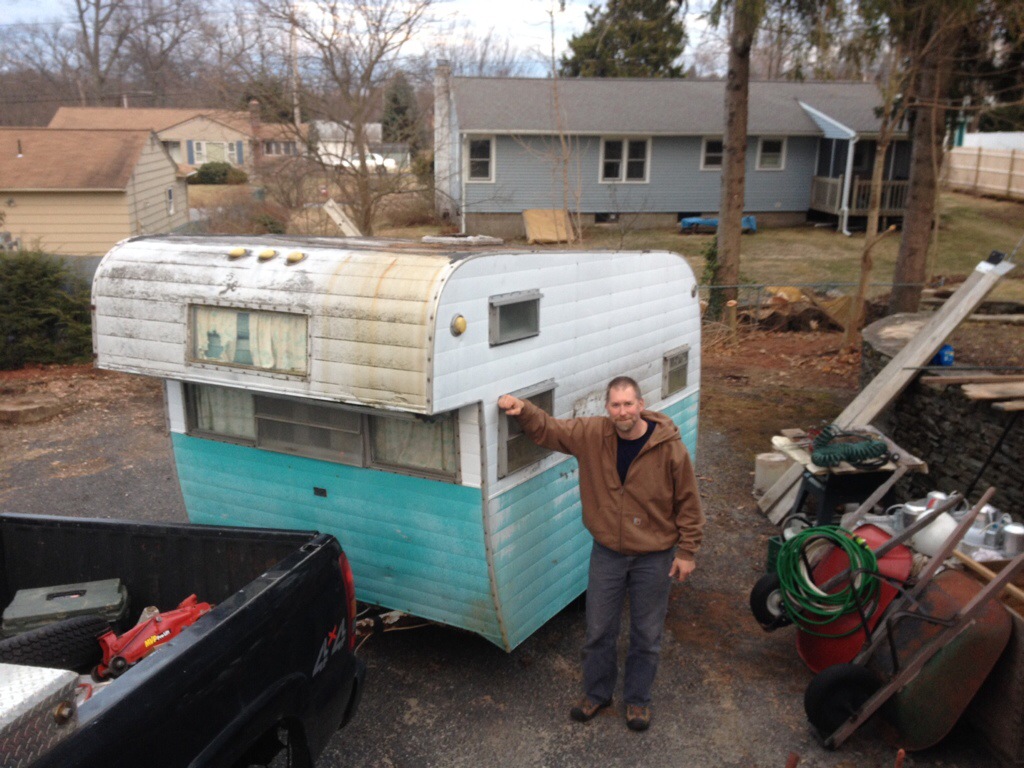
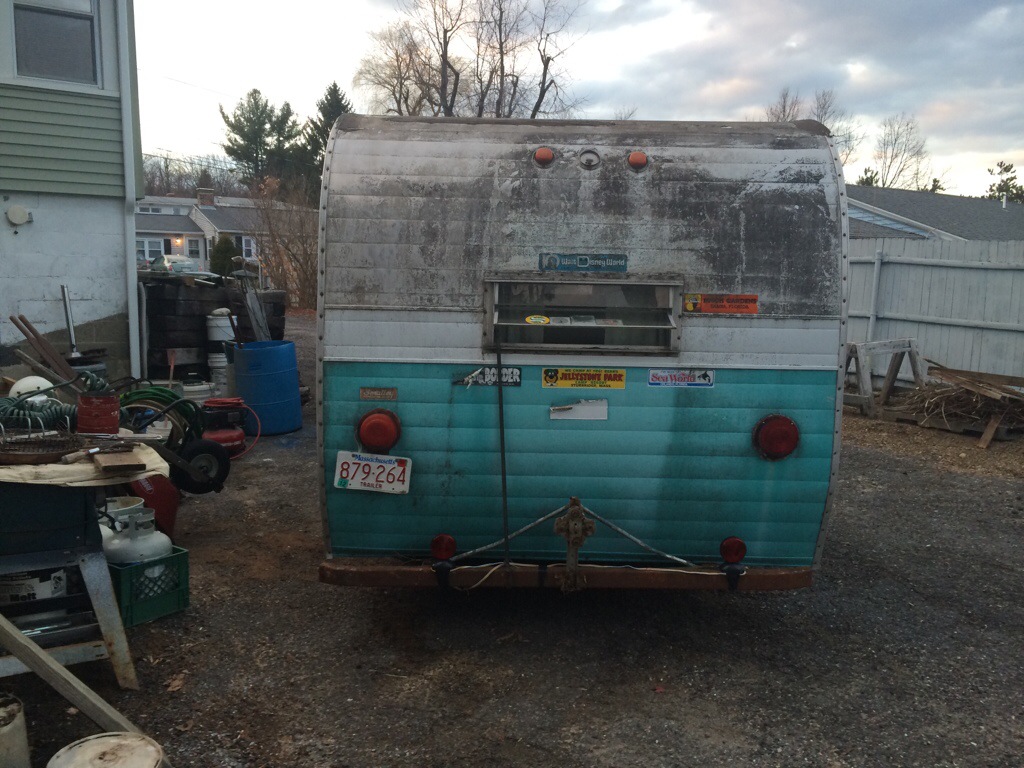
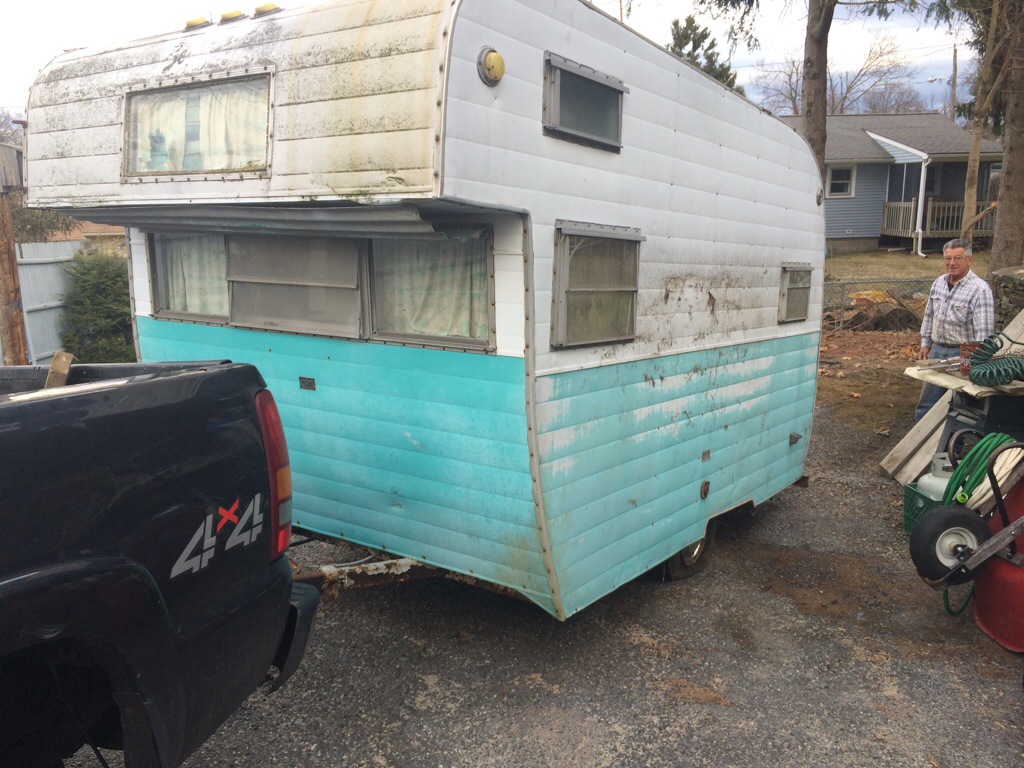
Meet Ma Kettle ! Isn’t she cute !!! Just a young 50 years old. She is a 13 foot 1964 BeeLine Honey bee ! Found and bought her today! And brought her home on the old cracked tires… Temporary lights. No valid registration but she made it home without a problem. I couldn’t even feel her behind the truck. Great find! Great future project. She will be restored back to original look. Maybe with a few goodies added for comfort and technology!


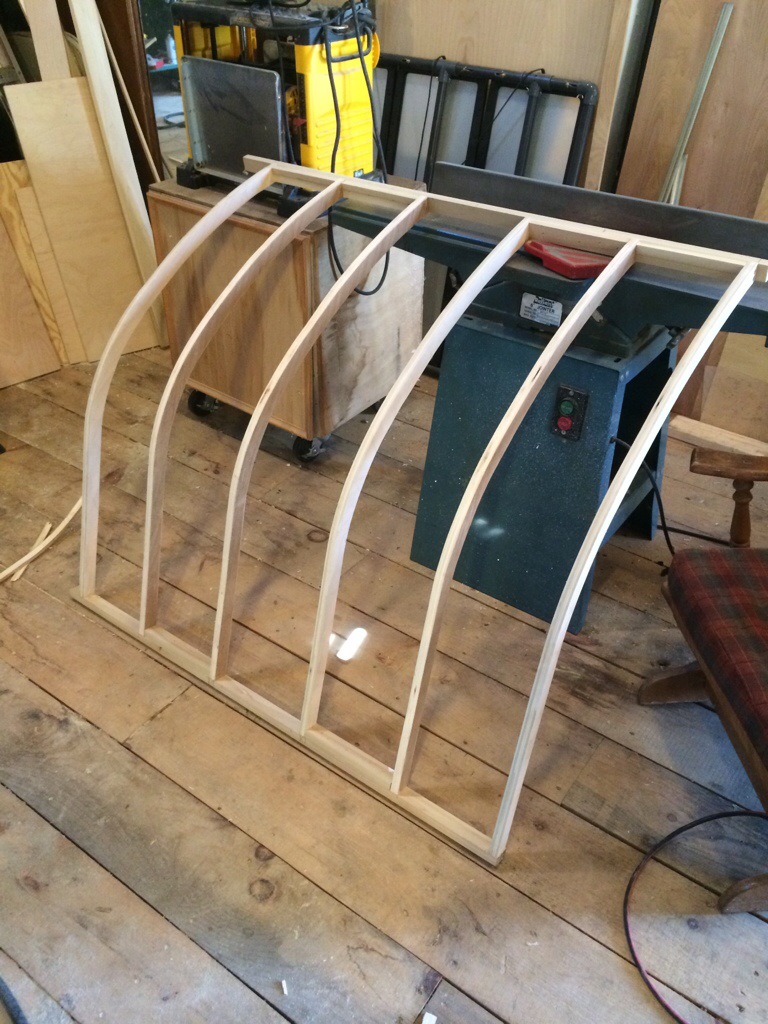
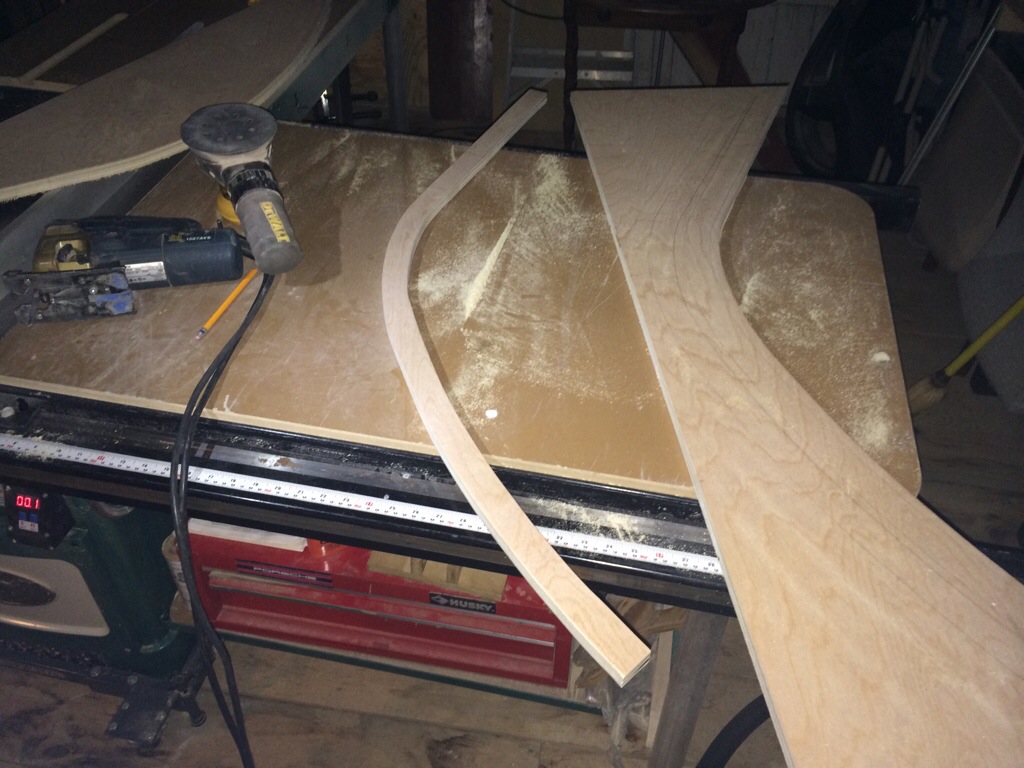
Well I need to start building the hatch, so here is the template for the hatch ribs. Too bad my jigsaw broke tonight so I have to wait a couple days for a part for it.
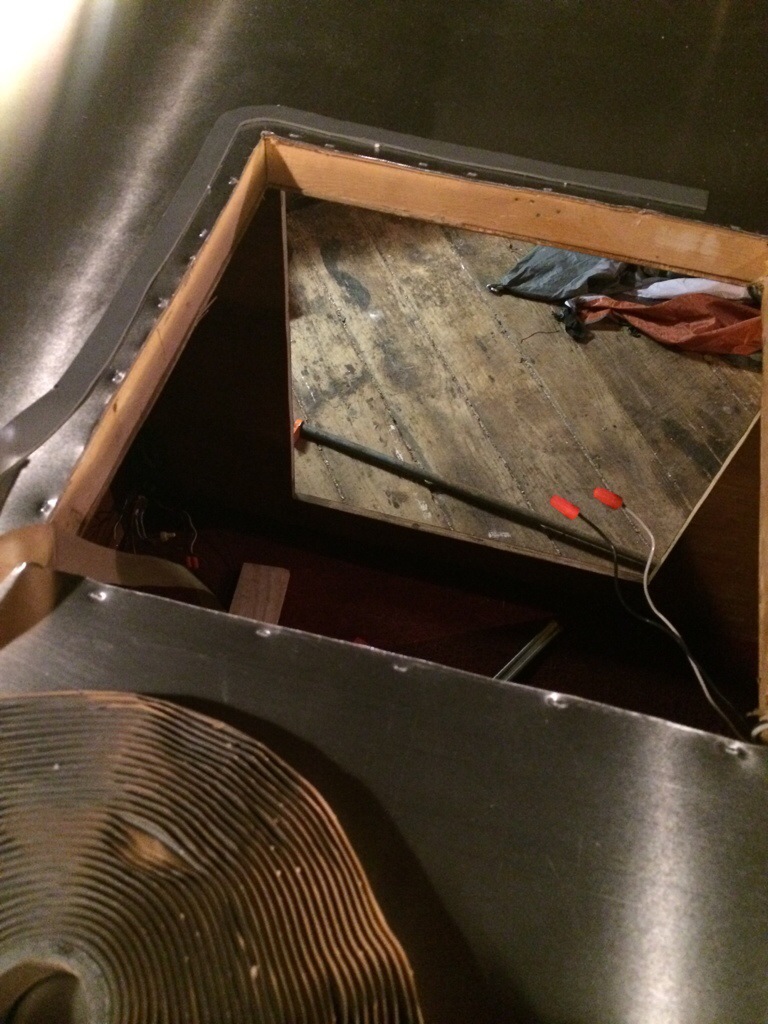
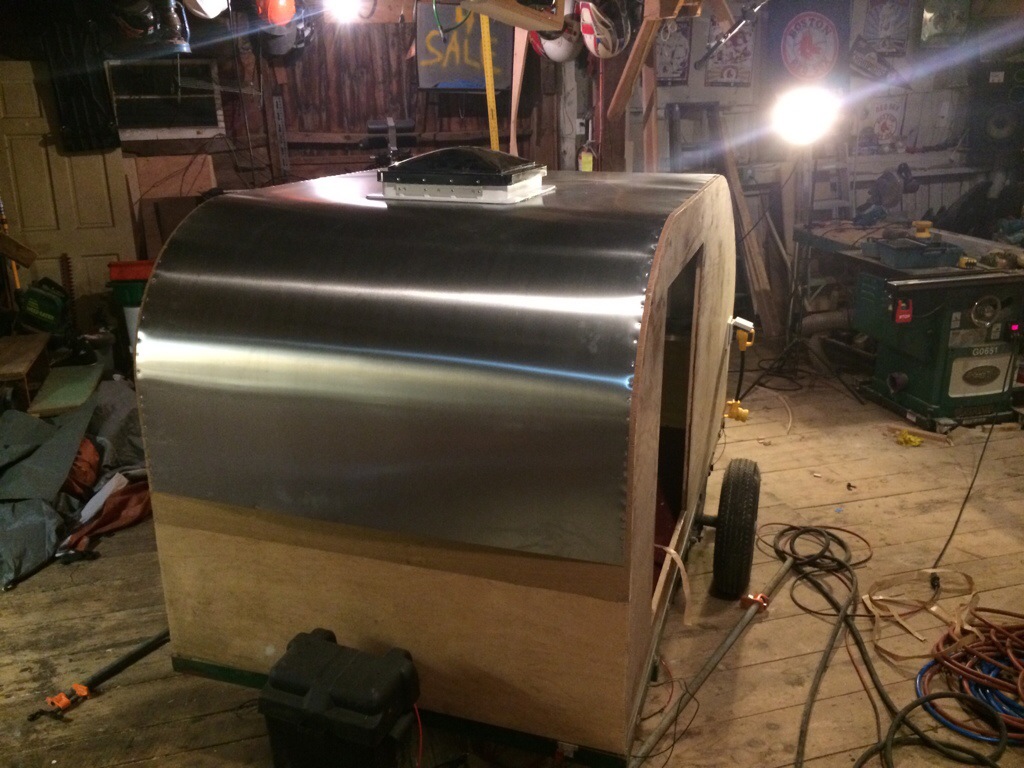
Yes I added the fantastic fan! It’s awesome. 3 speeds , reversible and with a thermostat! We should be plenty comfortable and I love fan noise to sleep with it’s not noisy but for those light sleepers it
May bother them. I only tacked it to the roof side as I still need to cover the roof with an aluminum skin … That may be this week if all goes right


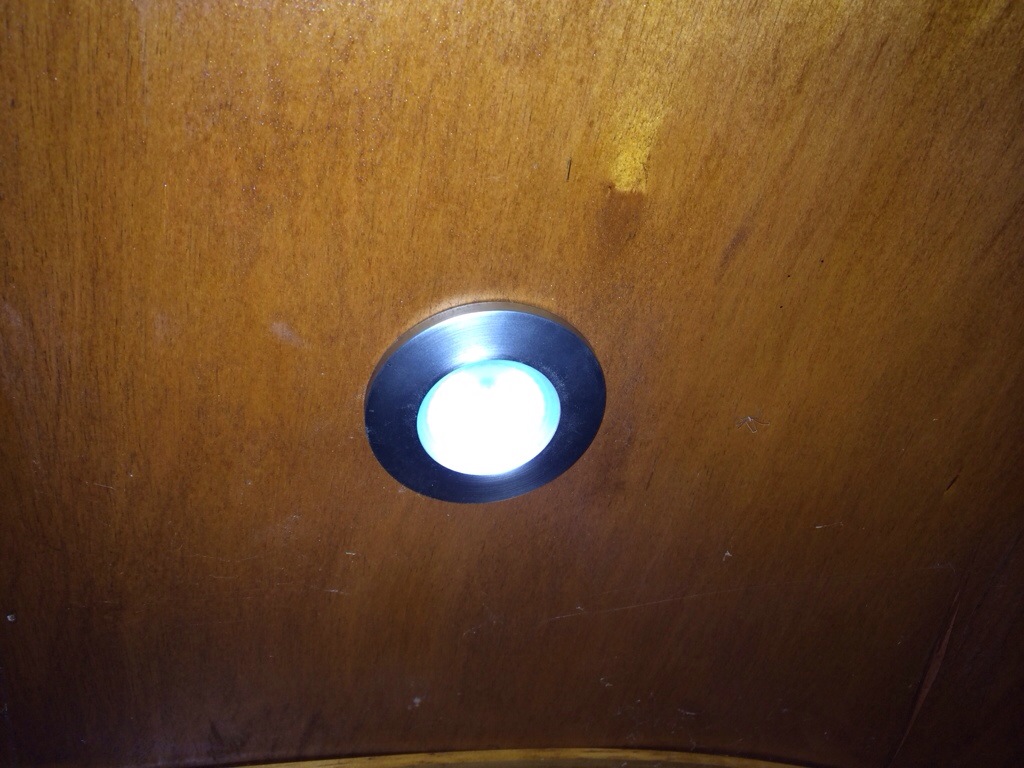
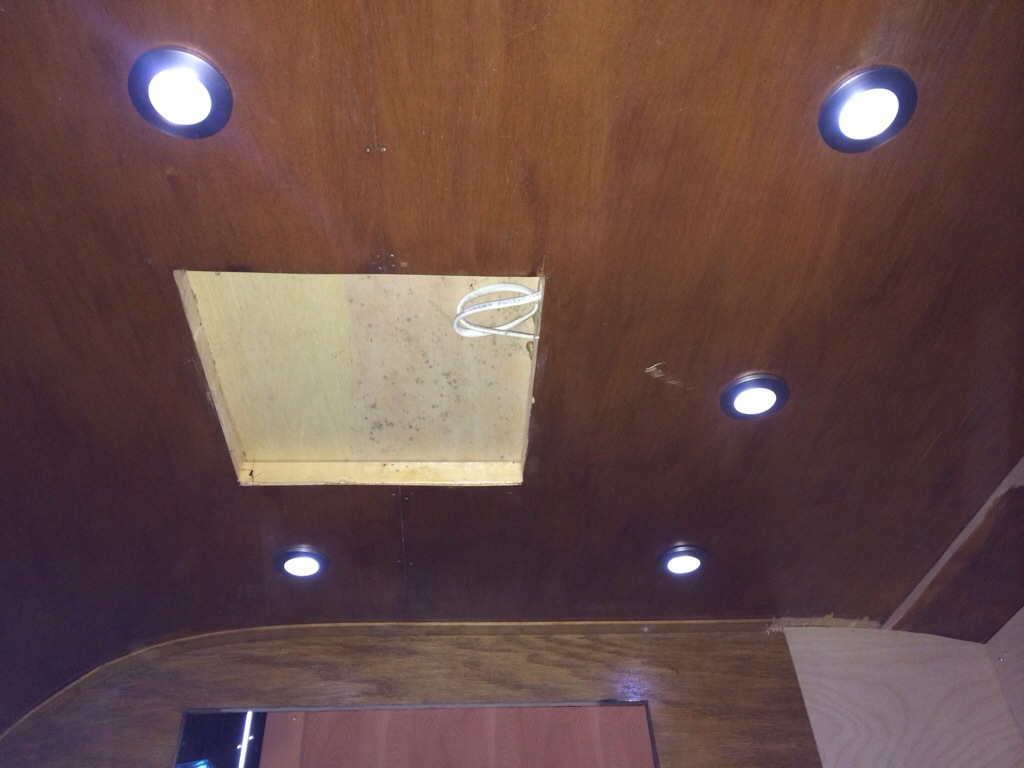
Here are the puck lights for the interior installed

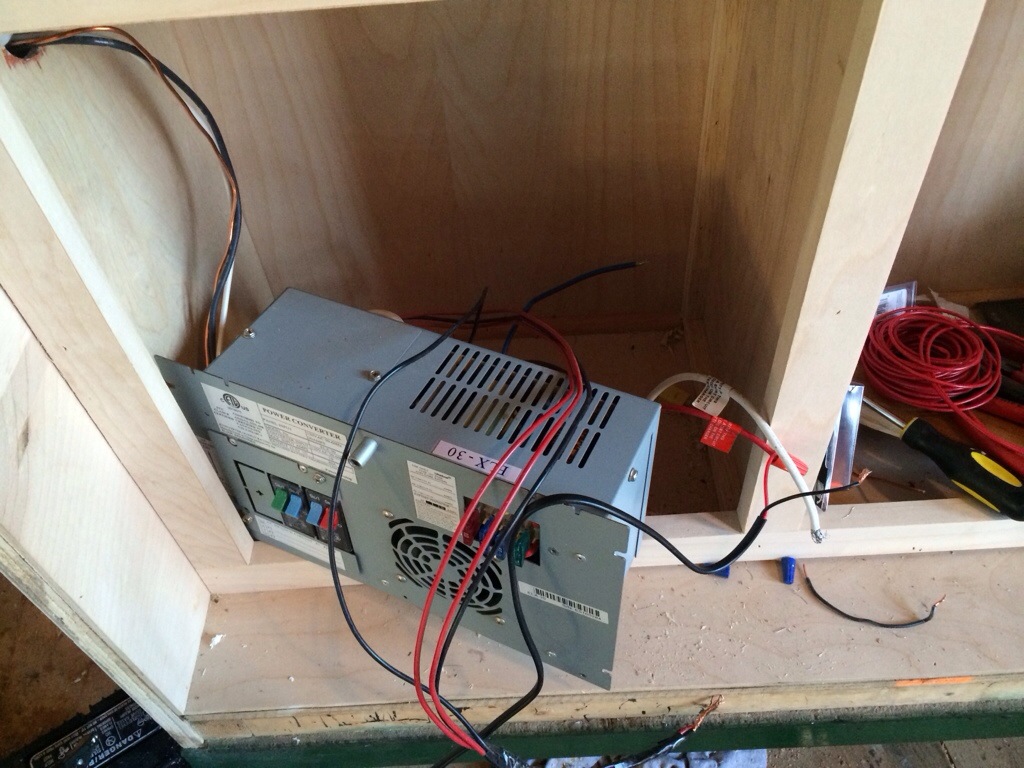
Power is needed so I installed the 30 amp receptical and started wiring the converter.